From the blog
How We Protect Your Franklin Home and Landscaping During a Roof Replacement
Every Step of the Ironclad Roofing Process, From First Call to Final Inspection
A Franklin roof replacement takes 1–3 days of active installation, but the full customer journey spans roughly 7–14 days from first contact to warranty activation. Knowing exactly what happens at each stage removes the anxiety of letting a crew work on your most valuable asset. This guide walks through every step Ironclad Roofing takes, including how we protect your landscaping, siding, and gutters while the old roof comes off and the new one goes on.
Step 1: Initial Contact and Scheduling the Drone Roof Inspection
The process begins the moment you call or submit a request online. Within one business day, we schedule a drone roof inspection at your property. This matters more than homeowners often realize: a traditional walk-on inspection requires a crew member on the roof before any contract is signed, which creates liability questions and produces measurements that depend on one person's line of sight. A drone inspection using a DJI Matrice-series platform captures high-resolution aerial imagery of every plane, valley, ridge, and penetration from multiple angles in under 30 minutes.
The imagery feeds into software that generates precise square footage calculations, pitch measurements, and a photographic record of existing damage. If you are filing an insurance claim for storm damage, that dated photo record becomes evidence your adjuster cannot dispute. For homeowners in the Nashville and Franklin area, where hailstorms and straight-line winds are seasonal realities, this documentation step is not optional: it is the foundation of an accurate estimate and a defensible insurance claim.
You receive a copy of the inspection report before we discuss pricing. You should review it, ask questions, and compare it against your insurance adjuster's findings if a claim is in progress.
Step 2: Estimate, Material Selection, and Contract
With precise measurements in hand, we produce an itemized estimate that separates labor, materials, disposal, and any code-required upgrades such as updated drip edge or ice-and-water shield. Middle Tennessee's 2021 IRC adoption means certain underlayment and ventilation standards are mandatory, and we build those into the estimate so there are no change-order surprises mid-project.
Material selection happens here. Ironclad installs GAF products exclusively, and our GAF Master Elite certification allows us to offer the GAF Golden Pledge Limited Warranty, which covers both the shingles and the workmanship for up to 25 years. For most Franklin homeowners choosing a GAF Timberline HDZ or Timberline UHDZ shingle, the color selection is the primary decision. We provide physical samples and can show aerial renderings using your actual roof geometry so you can see how the finished product will look before signing anything.
The contract specifies the start date, the daily work hours (typically 7 a.m. to 6 p.m.), the cleanup protocol, and the payment schedule. Read it. If anything conflicts with what was discussed verbally, raise it before signing.
Step 3: Pre-Installation Preparation and Property Protection
This is where Ironclad's process separates from lower-cost competitors. Roof tear-off generates thousands of nails, shingle granules, and wood debris that fall in every direction. Without deliberate protection, that debris damages flower beds, stains concrete, and leaves nails in your lawn that puncture bare feet and tire sidewalls weeks later.
On the morning of installation, the crew takes the following specific steps before a single shingle is removed:
- Magnetic nail strips are staked along every eave line and at the perimeter of all landscaped beds to capture falling fasteners in real time.
- Plywood panels or roofing tarps are laid over established shrubs, ornamental beds, and HVAC condensers directly below the work zone.
- Vehicles in the driveway are asked to be moved, or covered with branded debris tarps if moving is not practical.
- A large debris container (typically a 15-yard roll-off dumpster) is positioned at the driveway edge, not on the lawn, to avoid ground compaction and grass kill.
- Downspout extensions are temporarily detached so debris flushed through the gutters during cleanup does not clog your underground drainage lines.
If you have a vegetable garden, a koi pond, or newly seeded grass within 20 feet of the roofline, tell your project manager during the estimate. We adjust the protection plan accordingly. These are not edge cases in Franklin's suburban neighborhoods: they are routine considerations.
Step 4: Tear-Off and Deck Inspection
The old roofing material comes off in sections, working from the ridge down to the eaves. Crew members on the roof use flat shovels and tear-off forks to strip shingles, underlayment, and any existing flashings. Material is loaded into debris chutes or tossed directly into the dumpster staged below.
Once a section of decking is bare, the lead installer inspects every sheet of OSB or plywood for soft spots, delamination, rot, or damaged fastener patterns. Decking that fails a visual and pressure test is marked and replaced before any new material goes down. Replacement decking is billed at a per-sheet rate disclosed in the original contract. A typical Franklin home requires 0–4 replacement sheets; storm-damaged roofs may require more. You will be notified and shown the damaged sections before replacement begins.
This inspection step is non-negotiable. Installing new shingles over failing decking voids the manufacturer's warranty and creates a structural failure point that no amount of quality shingle material can overcome.
Step 5: Underlayment, Flashings, and Shingle Installation
New material goes down in a specific sequence. The deck receives synthetic underlayment first, typically GAF FeltBuster or GAF WeatherWatch ice-and-water shield in vulnerable zones: eaves, valleys, and around all penetrations. WeatherWatch self-seals around fasteners, which is critical in Middle Tennessee where wind-driven rain regularly accompanies storm systems.
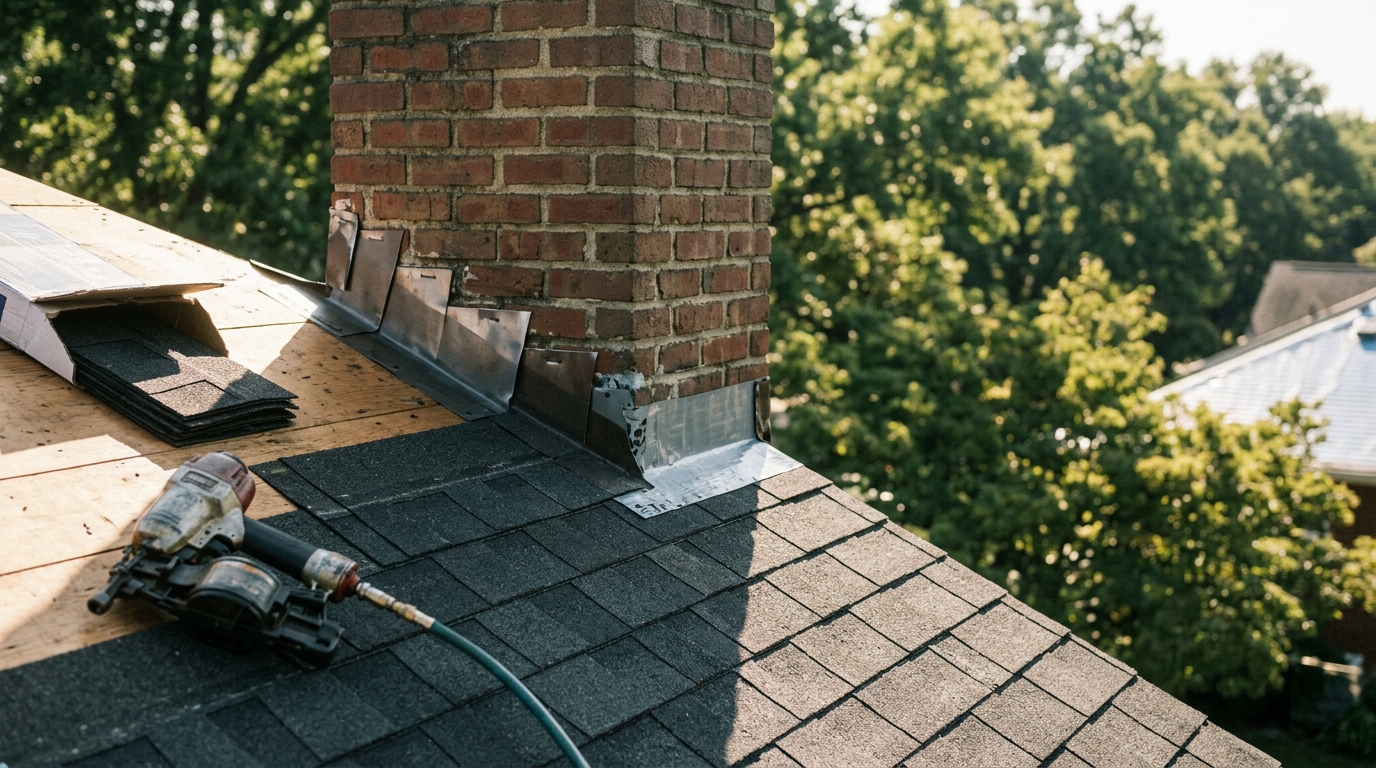
Flashings are installed or replaced next. Step flashings at walls, pipe boots at plumbing penetrations, and valley metal are all addressed before a single field shingle is nailed. Flashing failures cause more than 90 percent of localized roof leaks, which makes this stage the most technically consequential part of the installation. Ironclad uses pre-formed aluminum step flashings and two-piece pipe boots rather than single-piece rubber boots, which degrade faster under Tennessee's UV index levels.
Field shingles are installed from the eave up, following GAF's published nailing patterns for the specific shingle product selected. For Timberline HDZ, that means four nails per shingle in the nail strip zone, with six nails per shingle required in high-wind zones. Franklin sits in a region where 90 mph wind uplift resistance is the relevant standard. Ridge cap goes on last, using GAF Seal-A-Ridge or TimberTex depending on the shingle profile chosen.
Step 6: Same-Day Cleanup and Magnetic Nail Sweep
At the end of each workday, the crew performs a structured cleanup sequence. Loose shingle scraps and wrapping are loaded into the dumpster. Every crew member walks a grid pattern across the lawn using a rolling magnetic sweeper to collect nails that bypassed the perimeter strips. The gutters are flushed with water to remove granules and small debris, and downspouts are reattached and confirmed clear.
If installation spans two days, the deck is tarped overnight to protect the home from any rain event. The dumpster is removed within 48 hours of project completion.
Step 7: Final Inspection and Warranty Activation
The project manager conducts a post-installation walkthrough using the same drone platform used during the initial inspection. Before-and-after imagery is compiled and shared with you. Any flagged items, a raised shingle tab, an exposed fastener, a gap in ridge cap alignment, are corrected before the crew departs.
GAF Golden Pledge warranty registration is submitted electronically within five business days of project completion. You receive a warranty certificate by email and a printed copy by mail. The warranty covers manufacturing defects in the shingle material and Ironclad's workmanship for the full term. Keep both copies: warranty transferability adds measurable value if you sell the home.
Roof Replacement FAQ for Franklin and Middle Tennessee Homeowners
How long does a roof replacement take on a typical Franklin home?
Most single-family homes in the 2,000–3,500 square foot range are completed in one full workday. Larger homes, complex roof geometries with multiple valleys and dormers, or roofs requiring significant decking replacement extend the timeline to two days. Weather holds are the primary variable: we do not install shingles in active rain or when sustained winds exceed 25 mph.
Will the crew damage my landscaping or gutters?
Not if the pre-installation protection protocol is followed correctly. Ironclad uses magnetic nail strips, plywood shields over planted beds, and debris tarps on sensitive surfaces before tear-off begins. Gutters are inspected after installation and any granule buildup is flushed before the crew leaves. If we damage something during the project, we document it and address it as part of the project scope.
Do I need to be home during the roof replacement?
You do not need to be present for the full installation day. You should be available by phone in case the decking inspection uncovers damage requiring your approval for additional replacement sheets. The pre-installation walkthrough and the final inspection walkthrough both benefit from your presence, but they are not mandatory.
How does the drone roof inspection help with my insurance claim?
The drone inspection produces date-stamped, high-resolution imagery of every surface on your roof. If a storm caused the damage, that documentation establishes the condition of the roof at a specific point in time, which your insurance adjuster uses to verify the claim. It also identifies damage your adjuster may have missed from a ground-level or ladder assessment, which can increase the approved claim amount.
What is the difference between a repair and a full replacement, and how do I know which one I need?
A repair addresses isolated damage: a few missing shingles, a single failed flashing, or a cracked pipe boot. A replacement is appropriate when the shingle surface has lost more than 25 percent of its granule coating across multiple planes, when the decking shows widespread moisture damage, when the roof is within 3–5 years of the manufacturer's rated lifespan, or when an insurance claim covers the majority of the replacement cost. The drone inspection report will show granule loss patterns and surface damage distribution clearly enough to make this determination without ambiguity.
