From the blog
The Ultimate Homeowner's Checklist: 9 Things to Do Before Your Franklin, TN Roof Replacement Begins
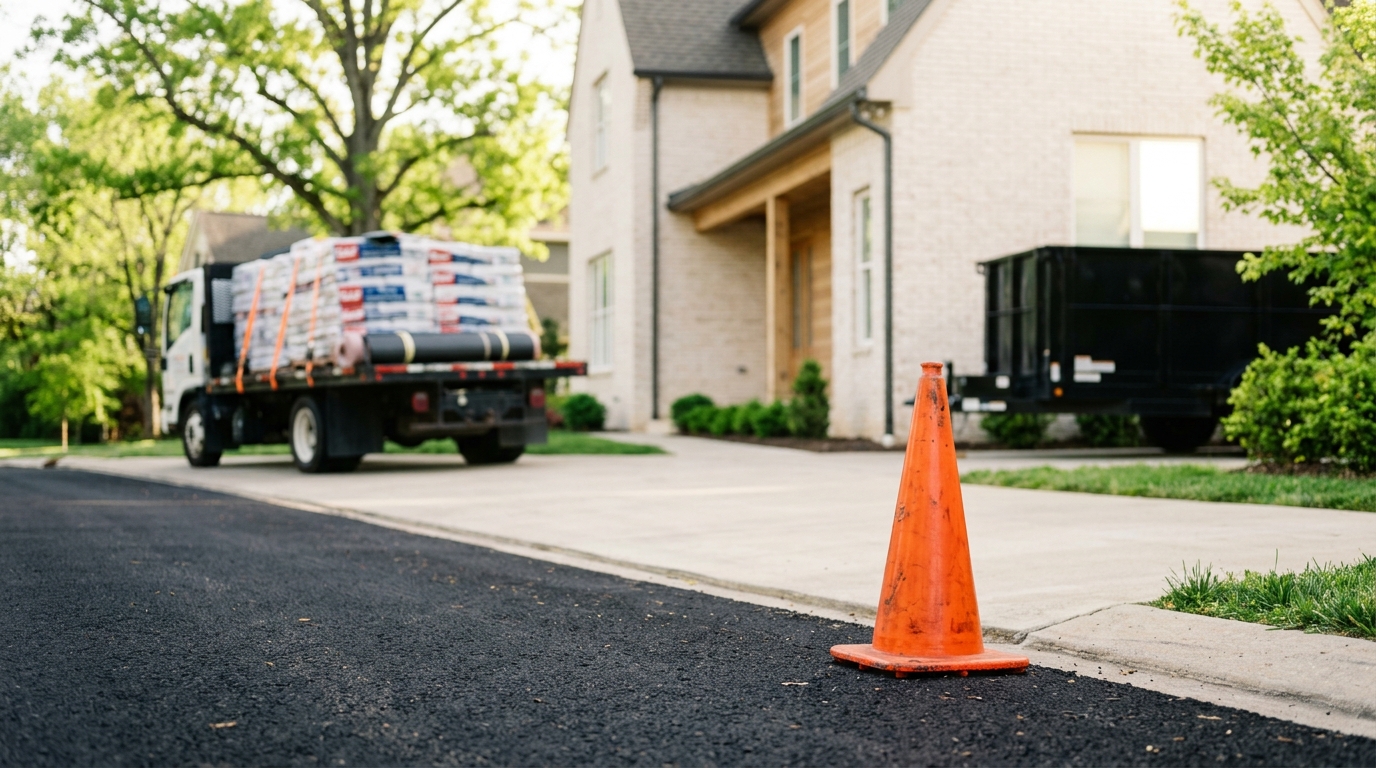
Before your Franklin or Brentwood roof replacement begins, complete these nine preparation steps: move vehicles, secure pets, clear the attic, protect valuables from vibration, notify neighbors, confirm the material delivery window, verify your permit is posted, establish a crew access point, and designate a site contact. Crews typically arrive between 7:00 and 8:00 a.m. and complete a standard 2,000–2,500 sq ft residential roof in one day.
Why Preparation Matters More Than You Think
Roof replacement is the single largest exterior project most homeowners commission. A GAF-certified crew of six to eight installers will move fast, typically stripping and re-shingling a standard ranch or two-story in eight to ten hours. That pace is efficient, but it generates significant noise, vibration, and debris across your entire property. Homeowners who prepare in advance protect their belongings, keep their family and pets safe, and give the crew the access they need to maintain that timeline without interruption.
The checklist below is sequenced the way an experienced project manager would approach the day: from the days before the install through final walkthrough. Each item takes thirty minutes or less to complete.
1. Move Every Vehicle at Least 30 Feet from the Home
Roofing crews use a dump truck or trailer positioned directly alongside the house to catch torn-off shingles and old underlayment. A vehicle parked in the driveway or near the garage blocks that access point and creates a liability risk. Move every car, motorcycle, and recreational vehicle to the street or a neighbor's driveway the evening before work begins. If you have a detached garage, close the doors and keep them closed for the duration of the project. Falling nails and shingle debris travel farther than most homeowners expect, especially in the wind patterns common across Middle Tennessee.
2. Protect Interior Belongings from Vibration Damage
Nail guns fire thousands of times during a single roof replacement. The repeated percussion travels through the roof deck and into the wall framing, which means framed pictures, mirrors, and shelving inside the top floor and attic knee walls can shake loose. Walk through your home the evening before and take down anything hanging on walls in second-floor bedrooms and hallways. Move fragile items on open shelving to lower cabinet space. This step takes twenty minutes and prevents broken items the crew cannot reasonably be held responsible for.
3. Clear the Attic and Check for Existing Leaks
Roofers access the deck from above, but a thorough crew will inspect the sheathing for soft spots, rot, or existing water staining from the attic side before or after tear-off. Clear stored boxes away from the center of the attic so inspectors can move freely. While you are up there, look for dark water stains, daylight showing through the deck, or insulation that appears compressed and discolored. Photograph anything you find and share it with your project manager before day one. Deck repairs are common in older Franklin and Murfreesboro homes, and identifying them in advance keeps the schedule intact instead of causing a mid-project conversation about additional costs.
4. Secure or Relocate Pets for the Entire Workday
The job site is loud, active, and has multiple entry and exit points as crew members move materials around the perimeter. A dog or cat that slips outside during tear-off faces real danger from falling debris and exposed nails. Board pets for the day or arrange for them to stay with a neighbor or family member. If boarding is not an option, designate one interior room away from exterior walls, close the door, and post a note on it so crew members do not open it by mistake during a walkthrough.
5. Notify Neighbors 48 Hours in Advance
Roof replacement starts early, typically before 7:30 a.m., and the tear-off phase is the loudest part of the job. A quick conversation or a note in the mailbox lets neighbors with infants, night-shift workers, or home offices plan accordingly. This courtesy also reduces the chance of a noise complaint that interrupts the crew mid-project. In many Brentwood and Franklin neighborhoods with active HOAs, your neighbor may also need to know that delivery trucks and crew vehicles will temporarily occupy street parking.
6. Confirm the Permit Is Posted and the Material Delivery Is Scheduled
Most municipalities across Middle Tennessee require a building permit for full roof replacement. Your roofing contractor should pull this permit before the project begins, not after. Confirm with your project manager that the permit is posted on the property and that the inspection has been scheduled for the appropriate phase. Separately, confirm that shingles, underlayment, ice-and-water shield, and ridge cap have been ordered and that a delivery window is confirmed for the morning of the install. A material delivery arriving mid-afternoon when crew is already halfway through tear-off causes delays that push completion past daylight.
7. Create a Clear Access Path Around the Entire Perimeter
Installers carry bundles of shingles and plywood sheets around the home constantly throughout the day. Ladders are positioned at multiple points on each roof plane. Walk the perimeter of your home before crew arrival and remove patio furniture, potted plants, lawn decorations, grills, and outdoor lighting that sits within four feet of the foundation. Retract any awnings or pergola covers that extend over the roofline. If you have a vegetable garden or landscaping beds alongside the house, lay plywood sheets over them yourself or ask your contractor whether they provide tarp protection. Most reputable Franklin and Brentwood contractors lay tarps around the perimeter as standard practice, but you should confirm this explicitly at contract signing.
8. Designate a Single On-Site Contact and Know the Crew Lead's Name
Miscommunication during a roofing project is almost always the result of too many decision-makers giving conflicting instructions to crew members. Designate one person in your household as the on-site contact, and make sure that person has the crew lead's direct cell phone number. If a question arises about a valley detail, a dormer flashing upgrade, or an unexpected sheathing repair, the crew lead needs one call to make, not three. If you plan to be at work during the install, confirm that your on-site contact has authority to approve minor decisions up to a defined dollar threshold, typically $200–$500, so small repairs do not stall the project.
9. Plan for a Full-Day Disruption and Schedule Your Final Walkthrough
A standard 2,000–2,500 sq ft roof replacement in Franklin or Brentwood runs eight to ten hours. Larger homes with multiple valleys, skylights, or steep pitches run twelve hours or longer. Plan to have no deliveries, appointments, or contractors working inside the home on that day. At project completion, walk the entire property with the crew lead before they leave the site. Check the ridge line for consistent alignment, inspect valleys and flashings at dormers and chimneys, and walk the yard and landscaping beds for stray nails. A professional crew performs a magnetic sweep with a rolling magnet to collect loose fasteners, but a second pass during your walkthrough is good practice. Confirm that all downspout connectors are re-attached and that gutters are clear of shingle granules before signing any completion paperwork.
What to Expect: Roof Replacement Timeline on Install Day
| Time Window | Phase | What Homeowners Should Know |
|---|---|---|
| 7:00–8:00 a.m. | Crew arrival and material staging | Trucks position alongside house; shingles loaded to roof via conveyor or hand-carry |
| 8:00–11:00 a.m. | Tear-off of existing shingles | Loudest phase; debris falls into dump trailer; deck inspection happens here |
| 11:00 a.m.–12:00 p.m. | Deck repairs and underlayment install | Ice-and-water shield applied at eaves and valleys; synthetic underlayment covers field |
| 12:00–4:30 p.m. | Shingle installation and flashing | Starter course, field shingles, ridge cap, and step flashing at walls installed in sequence |
| 4:30–5:30 p.m. | Cleanup and magnetic nail sweep | Tarps collected; magnetic sweep of yard and driveway; gutter check completed |
Roof Replacement Checklist FAQ
How early does a roofing crew typically arrive on install day in Franklin, TN?
Most crews in the Franklin and Brentwood area arrive between 7:00 and 7:30 a.m. Earlier start times allow the team to complete tear-off before afternoon heat peaks, which matters for both worker safety and shingle adhesion during installation. Have your vehicle moved and pets secured the night before so you are not managing logistics at dawn.
What happens if it rains on the scheduled day of my roof replacement?
Reputable contractors monitor forecasts closely and will contact you 24–48 hours before install if rain is likely. Light rain that develops mid-project is manageable if underlayment is already installed and tarps are staged. A full rain delay is rescheduled to the next available slot, which in peak Middle Tennessee storm season can run one to two weeks out. Confirm your contractor's weather policy in writing before signing the contract.
Do I need to be home during the entire roof replacement?
You do not need to be present the entire day, but you should plan to be available by phone and have a designated on-site contact at the property. The most important times to be present are the first hour of crew arrival to confirm scope and materials, and the final walkthrough before the crew leaves. Major decisions require your approval, so a contact who can reach you immediately is essential if you cannot be on-site.
How do I protect my landscaping and flower beds during the project?
Ask your contractor in writing whether they provide perimeter tarps for landscaping. Most established Franklin and Brentwood roofing companies include this as standard. As a supplement, move potted plants and lightweight garden fixtures away from the foundation yourself the day before. Established shrubs and ground cover cannot be moved, so tarp coverage from the crew is the primary protection. After project completion, rinse shrubs near the roofline with a garden hose to clear shingle granules from foliage.
What is a magnetic nail sweep and why does it matter?
A rolling magnetic sweeper is a wheeled device dragged across lawns, driveways, and landscaping beds after tear-off and installation. It collects roofing nails, staples, and metal fasteners that fall from the work area throughout the day. A thorough sweep typically collects several hundred fasteners on a standard residential project. Without it, loose nails remain in the grass and driveway, creating a puncture risk for vehicle tires, pet paws, and bare feet. Confirm that your contractor performs a magnetic sweep as a standard line item in their cleanup process, not an optional add-on.
